Why Application Matters as Much as the Label
Stock bags plus a custom label are one of the smartest ways to launch a coffee brand. You buy blank bags in smaller amounts, add your own label, and get a branded look without paying for custom printing. But there is a catch that trips up a lot of new roasters. A beautiful label applied crooked, bubbled, or peeling looks worse than no label at all. The shopper does not see a design problem, they see a quality problem, and they quietly wonder what else you cut corners on.
The label is only half the job. How you put it on is the other half, and it is the half that separates a bag that looks store-bought from one that looks homemade. The best part is that clean application is not luck or talent. It is a simple, repeatable skill, and once you learn the method you can hit the same result on every bag.
Start With the Right Label and Bag
Good application starts before you ever peel a label, with a smart match between the label, the bag, and the surface you are sticking to. Pressure-sensitive labels, the peel-and-stick kind, are the standard for stock bags because they go on by hand or machine and hold well. The trick is choosing a size and finish that fit your bag and lie flat.
- Size the label to the flat front panel, leaving a margin so it does not wrap onto a curved edge or seam
- Match the finish to your brand, since matte, gloss, kraft, and clear labels each read differently on the shelf
- Pick a label that suits the bag surface, because very matte or textured bags can grip differently than smooth ones
- Store labels and bags at room temperature, since cold or damp materials stick poorly
A label that fits the panel and matches the bag surface is already halfway to looking professional. If you want a refresher on the label choices themselves, our
guide to coffee bag labels breaks down the types and finishes worth considering.

The Peel, Place, Press Method
Here is the core routine that gets a straight, smooth label every time. The whole idea is to control the label instead of letting it slap down all at once, because a label that lands crooked almost never comes off cleanly for a second try. Work on a clean, flat surface with the empty bag laid out smooth, and go slow.
- Prep the bag by wiping the panel so it is clean, dry, and free of dust
- Mark your placement, or better yet use a simple jig or template so every bag matches
- Peel back just the top edge of the label, keeping most of the backing on
- Line up that top edge first and set it down straight, since the top anchors the whole label
- Press from the center outward, slowly peeling the rest of the backing as you go
- Smooth the label with a soft card or squeegee, pushing air out toward the edges
Filling the bag after labeling, not before, also helps, since a flat empty bag is far easier to label cleanly than a full, rounded one. That single habit removes most of the wrinkles roasters fight with.
Avoiding Bubbles, Wrinkles, and Crooked Labels
Most labeling problems come from moving too fast or trying to reposition a label that has already grabbed. Once you know the usual culprits, they are easy to dodge. The center-out press is your best friend, because it drives air toward the edges instead of trapping it in the middle.
- Go slow and press from the center out, never slap the whole label down at once
- Do not restick a label that landed crooked, since the adhesive grabs and will wrinkle or tear
- Keep dust and static off the panel, because trapped specks show as tiny bumps
- Avoid labeling cold, damp, or oily bags, which cause lifting edges later
- If a bubble appears, smooth it to the nearest edge with a card while the label is fresh
Buy a few extra labels and bags so a mistake is no big deal. Treating the first few as practice takes the pressure off and gets your hands used to the motion.
Hand Application Versus a Label Applicator
For a small run, careful hand application is perfectly fine and keeps your startup costs low. It is how most new roasters begin, and with a jig you can get very consistent results. The question is volume. As your orders grow, applying hundreds of labels by hand gets slow and your accuracy drifts when your hand gets tired. That is the point where a label applicator earns its keep. A manual or semi-automatic applicator places labels in the same spot with the same pressure every time, which speeds you up and locks in consistency. You do not need one on day one, but it is worth knowing the upgrade exists so you can plan for it as you scale. Weighing that path against fully printed bags is exactly what our post on
digital versus stock coffee bags is for.
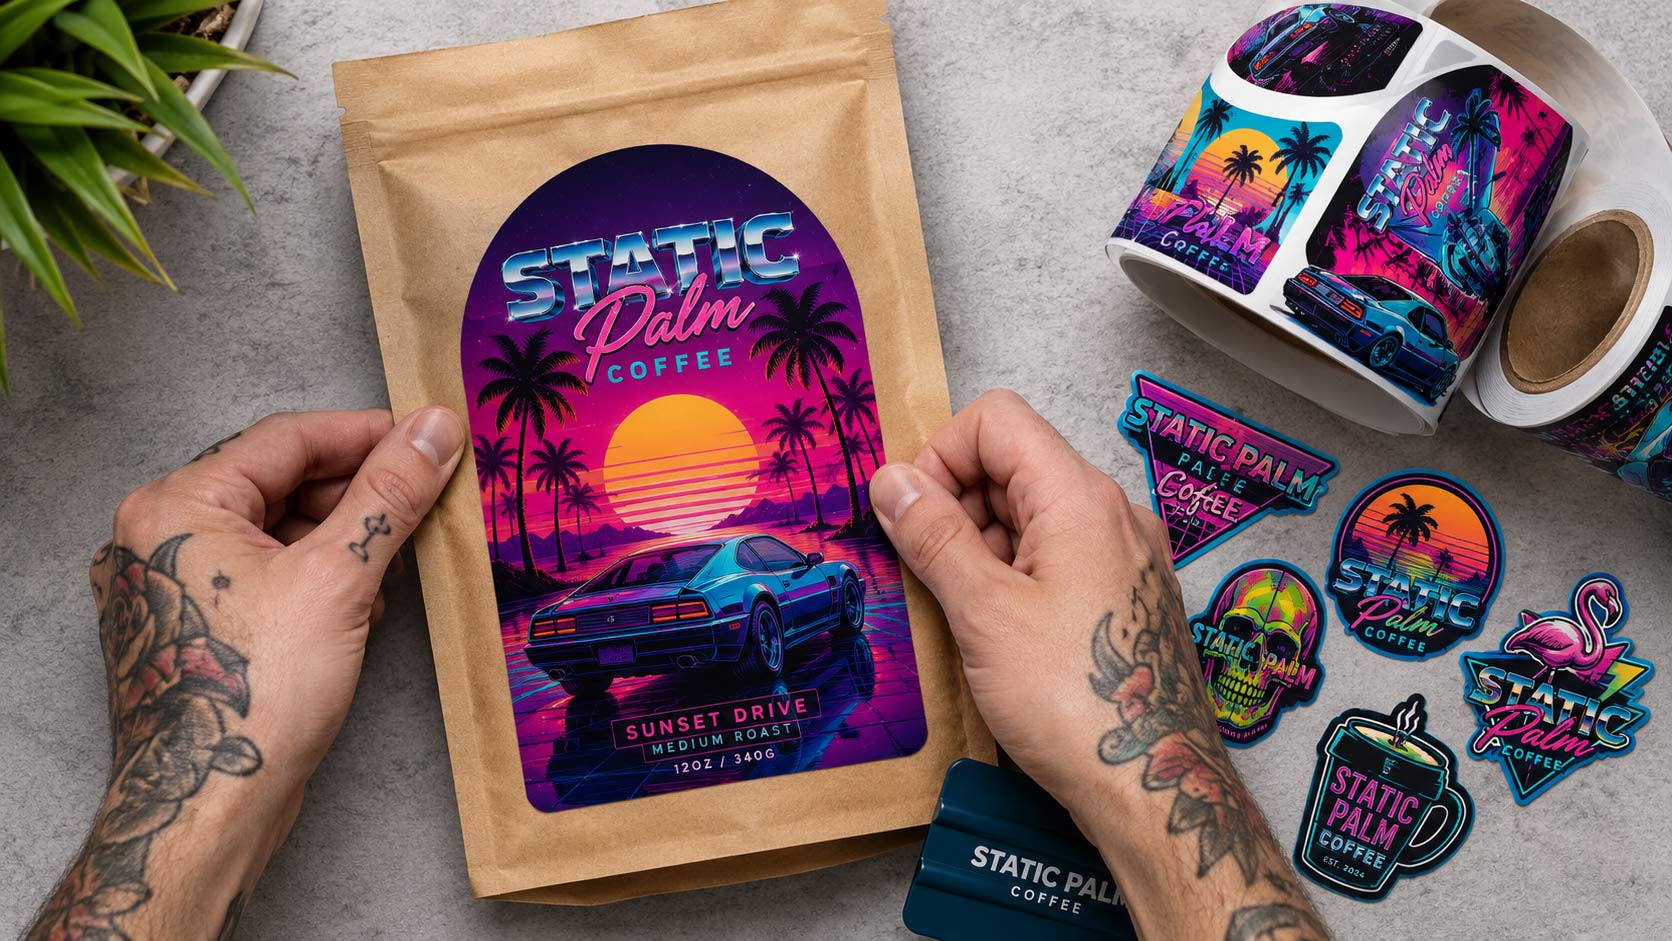
Keep Every Bag Looking Identical
Consistency is what makes a labeled stock bag look like a real retail product instead of a craft project. A shopper should be able to pick up three of your bags and see the label in the exact same spot on each one. A cheap, reusable jig or a marked placement guide is the easiest way to get there, and it pays for itself in the professional look it delivers.
- Use a jig or template so placement never drifts from bag to bag
- Label in batches with the same lighting and setup for steady results
- Do a quick quality check and pull any bag with a lifted or crooked label
- Reorder the exact same label spec so your look stays the same over time
Done consistently, this simple stock-and-label system gives you a shelf presence that punches well above its cost. When you are ready to graduate to fully printed
custom coffee bags, the brand look you built with labels carries right over.
A Small Skill With a Big Payoff
Labeling stock bags well is one of the highest-return skills a young coffee brand can build. It costs almost nothing to learn, it protects the premium look you are paying your designer for, and it lets you launch and update products fast without committing to custom print runs. Choose a label that fits, use the peel-place-press method, press from the center out, and lean on a jig to keep every bag identical. Master that, and a humble
stock bag starts looking a whole lot like a custom one.